Tuesday was a beautiful, sunny day and the kids were home on spring break. It was a perfect time to go outside and plant three new plants that I purchased from the amazing nursery at “The Living Desert“. Did you really think I could leave that wonderful place and NOT buy any plants?
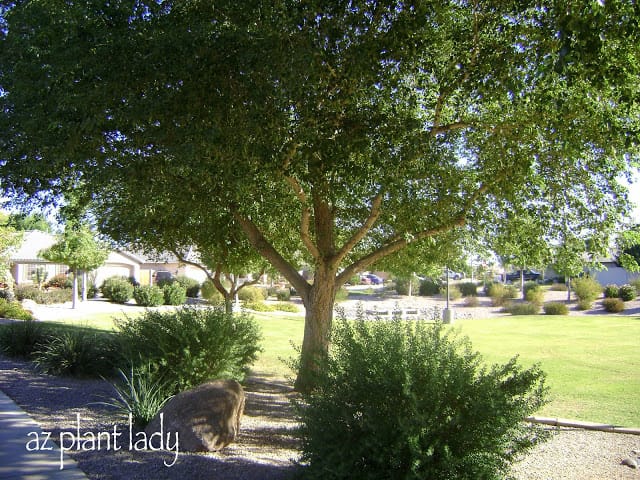
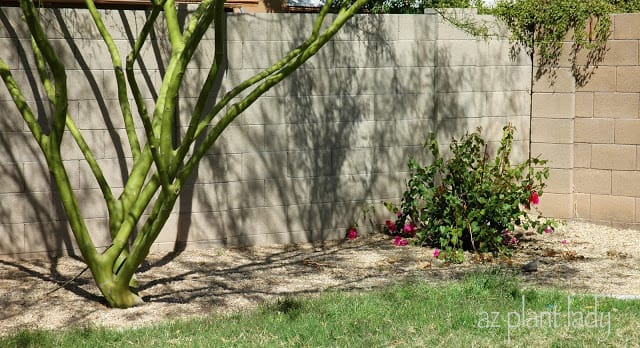
I had just the place to put them. It was a rather bare area between my Desert Museum Palo Verde tree and my Bougainvillea, which has just been pruned back.
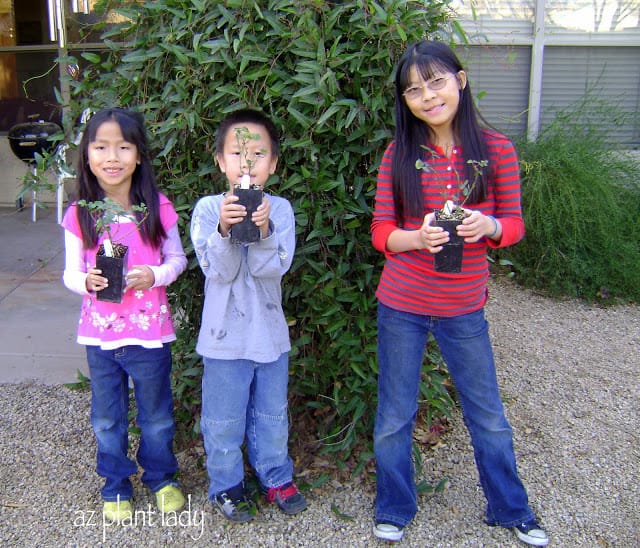
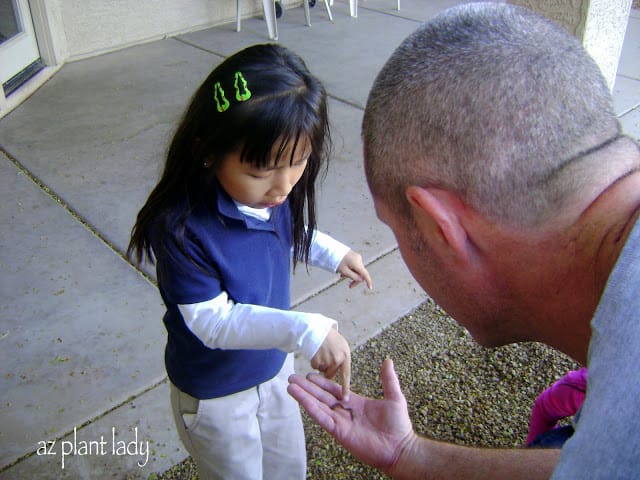
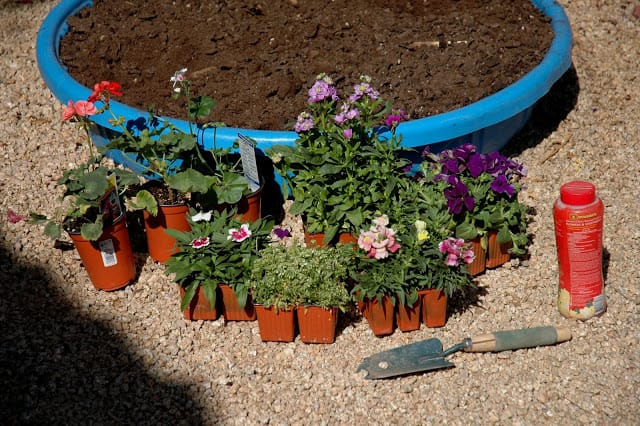
My daughter is proudly displaying our new plants, below.
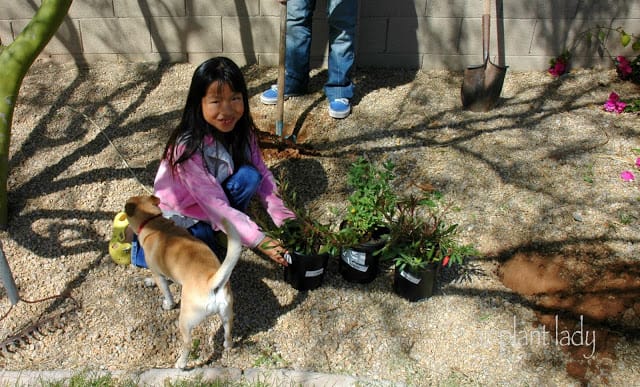
We are planting a Chaparral Sage (Salvia clevelandii) and 2 Pink Gaura (Gaura lindheimeri ‘Siskiyou Pink’).
Warm days make my son eager to take his shirt off whenever possible, although it was only in the low 70’s.
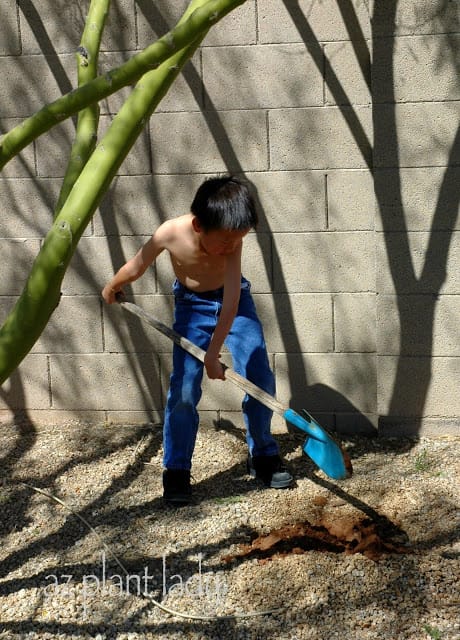
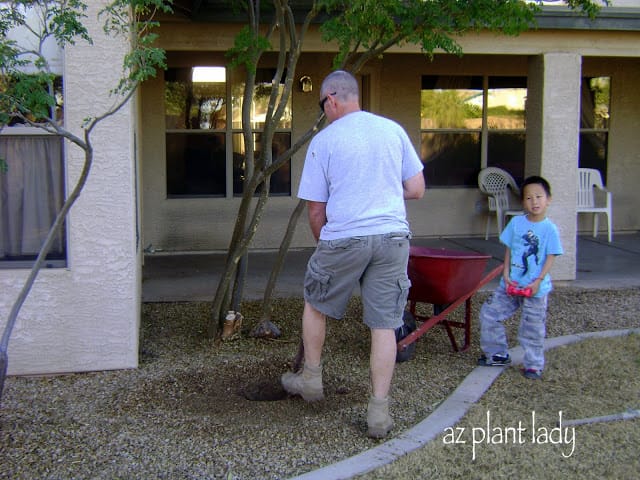
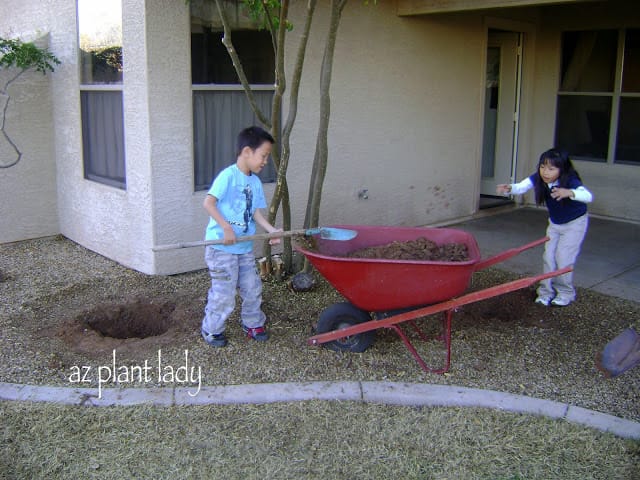
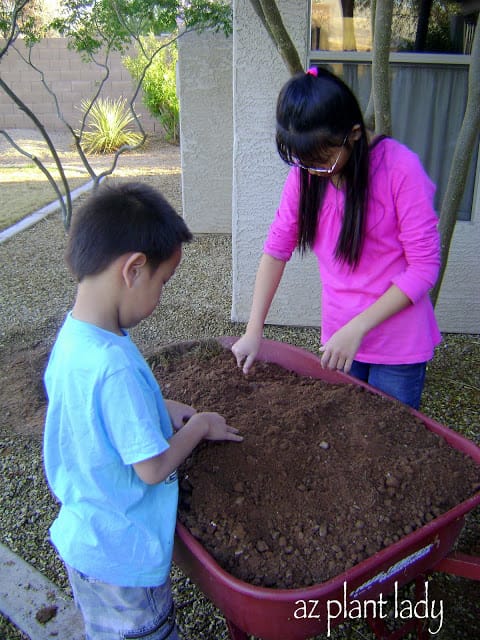
The first step was to rake back the gravel (rock) with enough room to place the dirt pile on top of the bare dirt and not mix it up with the gravel. Then we started digging.
*We bought a set of kid-sized gardening tools over 16 years ago when my oldest daughter was 10 years old. They have lasted a long time and now our youngest children are using them. I recommend kid-sized tools for your kids to use which will make gardening much easier for them and increase their enjoyment.
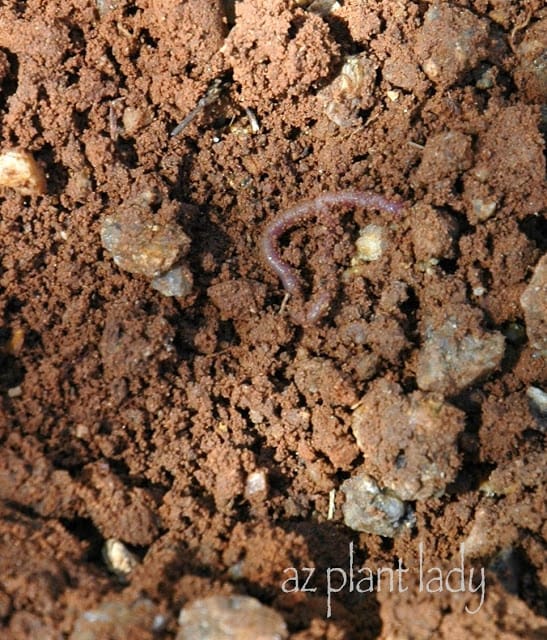
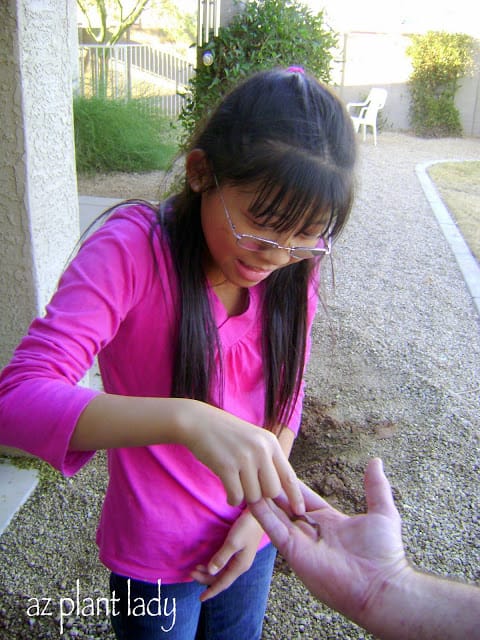
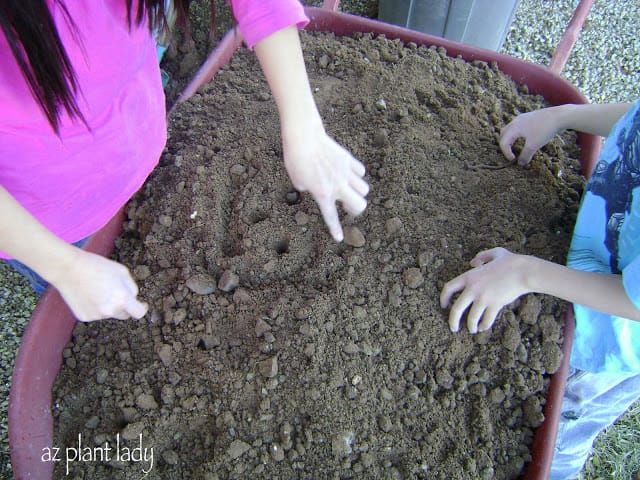
Look what we dug up….
Many people are surprised that not all deserts are made up of sand. I know I was when I first moved here. We actually have clay soil in our area while the deserts in California are mostly sand.

Okay, back to planting – I taught my son how to check that the hole is at the proper depth by putting the plant, (while still in the pot), into the prepared hole. The top of the pot should reach the the top of the hole. Take the pot back out and adjust the hole if needed.
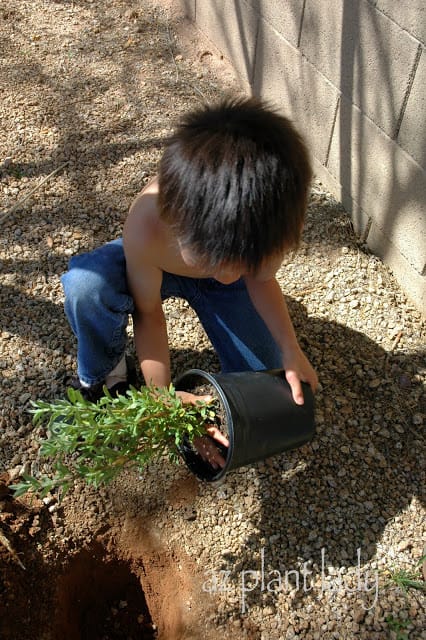
He placed his hand around the plant and carefully turned it upside down over the hole and worked off the container with his free hand – I helped him with this part.
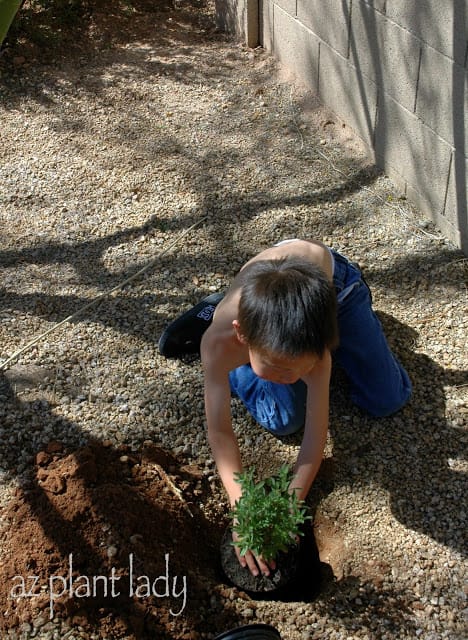
He placed the plant in the hole and filled it in with the remaining soil.
*I typically do not amend the soil for desert-adapted shrubs because they are well adapted to soils with little organic matter. But you can always add compost if you like.
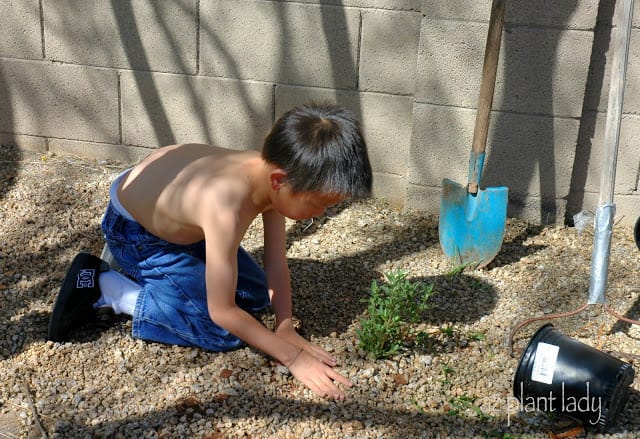
Press the soil around the new plant and then recover with the gravel if needed.
Plants grow very quickly in our climate, so tiny, straggly looking plants will not look that way for long.
Note about the small clumps of dirt in the photo above – I’m not the neatest gardener and seldom create a large enough gravel-free area in which to dig a hole, so there is always some mixing of the soil and gravel.

We had two more plants to install and my older daughter decided to help us out.
Okay, the following is what NOT to do, but I confess that I often do.
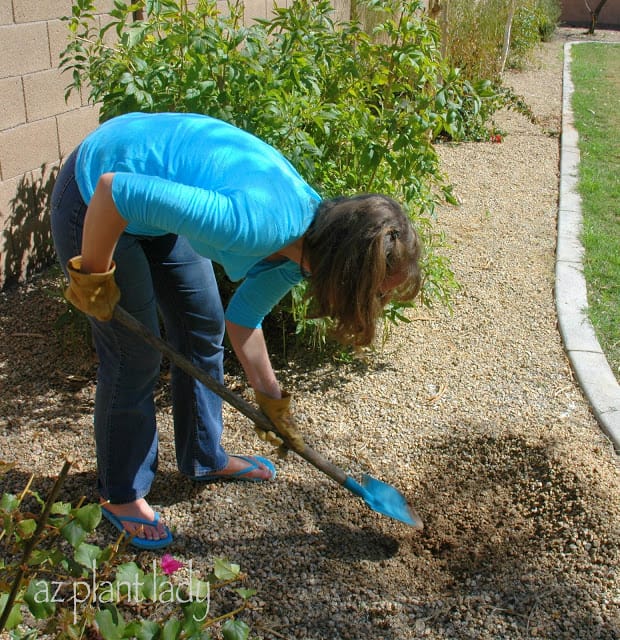
To save your back, do not use a child’s shovel. It was convenient and so I used it, but a larger shovel is much more comfortable to use.
I didn’t realize how color coordinated I was with the shovel, which was totally unintentional – I am not a slave to fashion to that degree 😉
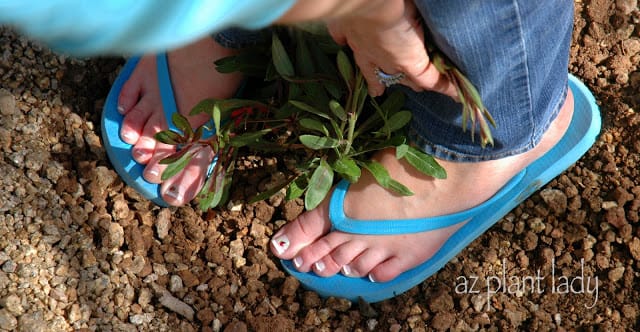
When you dig holes and carefully press the soil around newly installed plants….it is best not to wear flip-flops. I don’t have much of a defense for this one but here it is – I am from California and grew up going barefoot or wearing sandals for much of the year. I don’t wear them in the winter because my feet get really cold. I was so excited to be able to wear them this week and did not want to take them off to put on my gardening boots.
If you look closely, I have a ladybug painted on my toes to celebrate the coming of spring, which really has nothing to do with this post 😉
**By the way, a kind reader pointed out that I did not state if we watered the plants in afterward. Probably one of the most important part about planting and I left it out of my post. We did water the plants well after planting. Thank you Edith for bringing it to my attention.

