I enjoy DIY projects – particularly when they involve things that I have grown in my garden.
It seems that a lot of the things that I make from the garden include herbs. I have dried herbs, frozen them into ice cubes and have done homemade herb butter.
Using herbs from my garden when I cook always gives me a special satisfaction, and my food tastes great too!
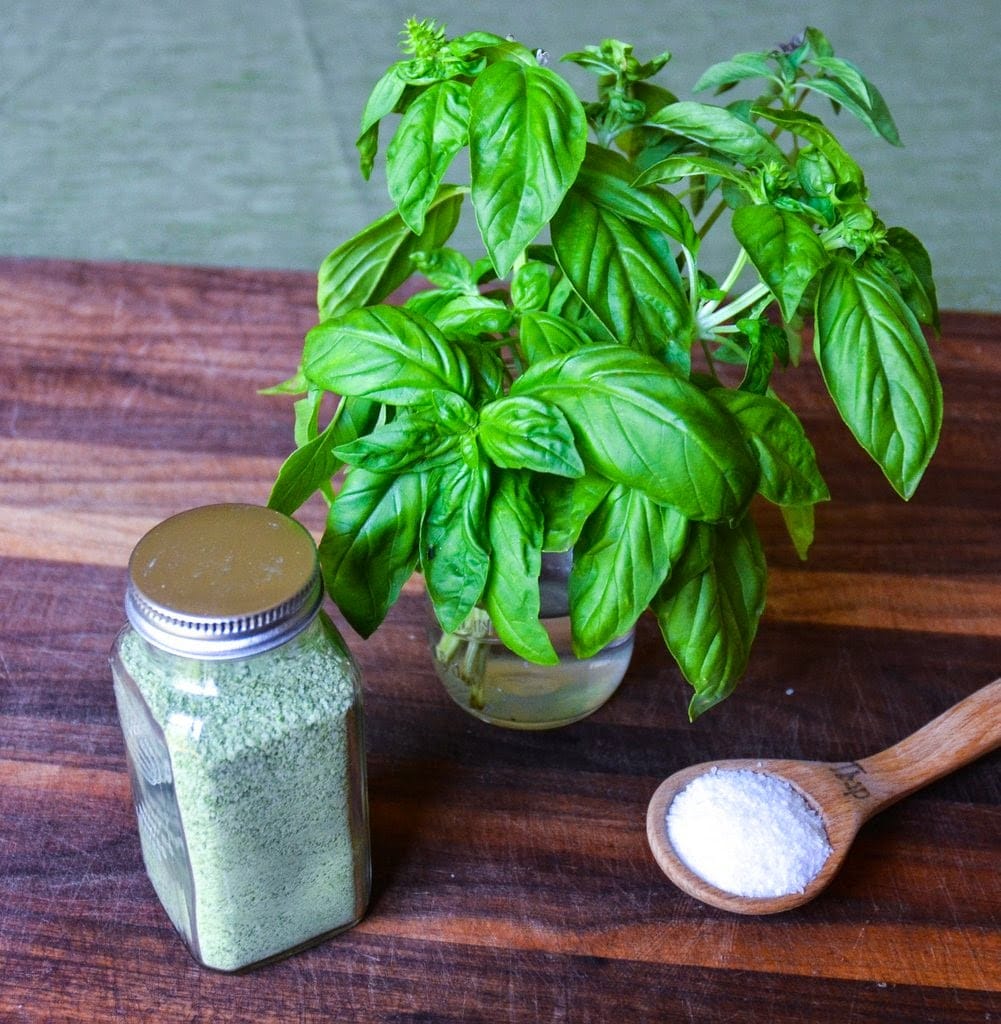
Photo: Basil herb Salt
Today, I am excited to share with you how to make basil herb salt. If you haven’t heard of herb salts before, they are referred to as ‘gourmet salts,’ which are very popular in the foodie community.
Herb salts are easy to make – especially if you have a food processor. The salt helps to preserve the fresh flavor of your favorite herbs, and they add fabulous flavor to your favorite dishes.
Gourmet salts also make great gifts.
It is hard to find anyone who doesn’t love basil and the flavor it adds to so many different dishes. I enjoy making Italian food and am often using basil. Usually, I tear or chop some fresh basil leaves and add them as flavoring.
Basil salt can be used in a variety of ways including sprinkling into your favorite tomato sauce, on top of a fresh-baked pizza, adding to bruschetta or simply sprinkling some on the top of fresh tomatoes. Are you ready to get started?
You will need fresh basil (either from your garden or the store) and kosher salt – pretty simple!
Grab your food processor, a baking sheet and a glass jar with a lid.
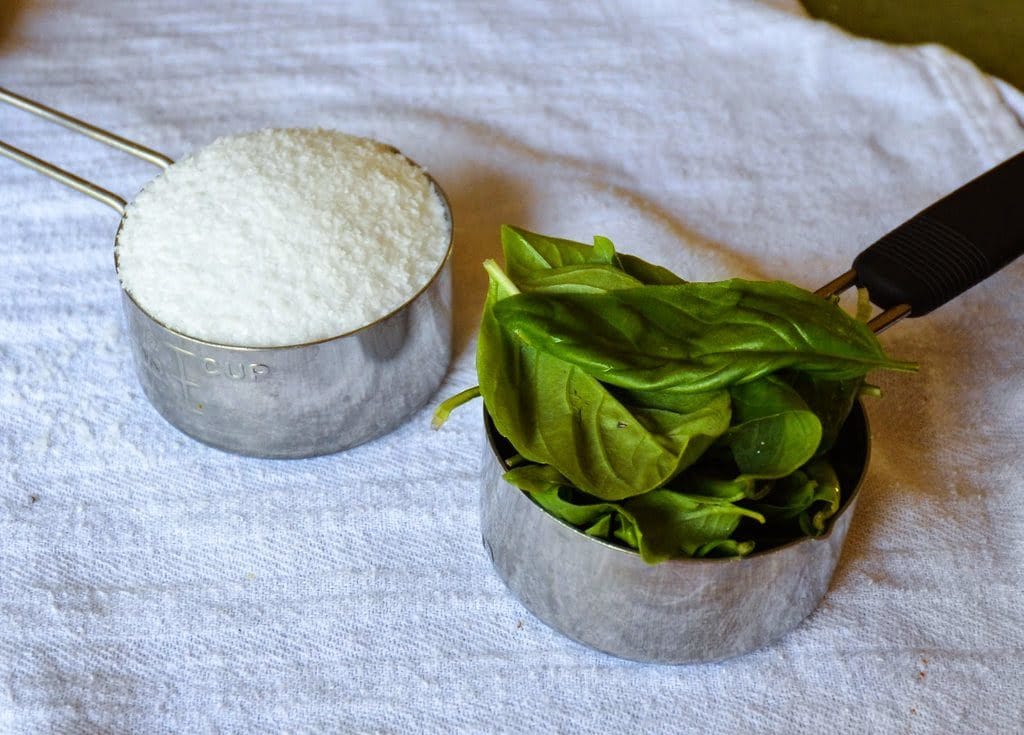
1. You will need 1/2 cup each of kosher salt and basil leaves.
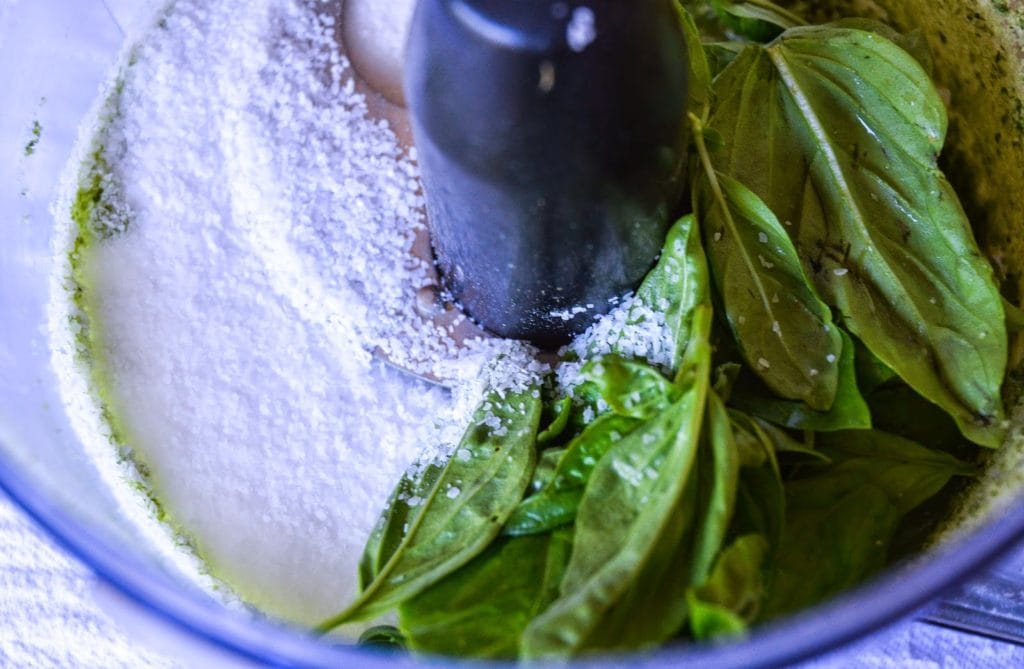
2. Add the basil and kosher salt to your food processor and pulse for 30 seconds.
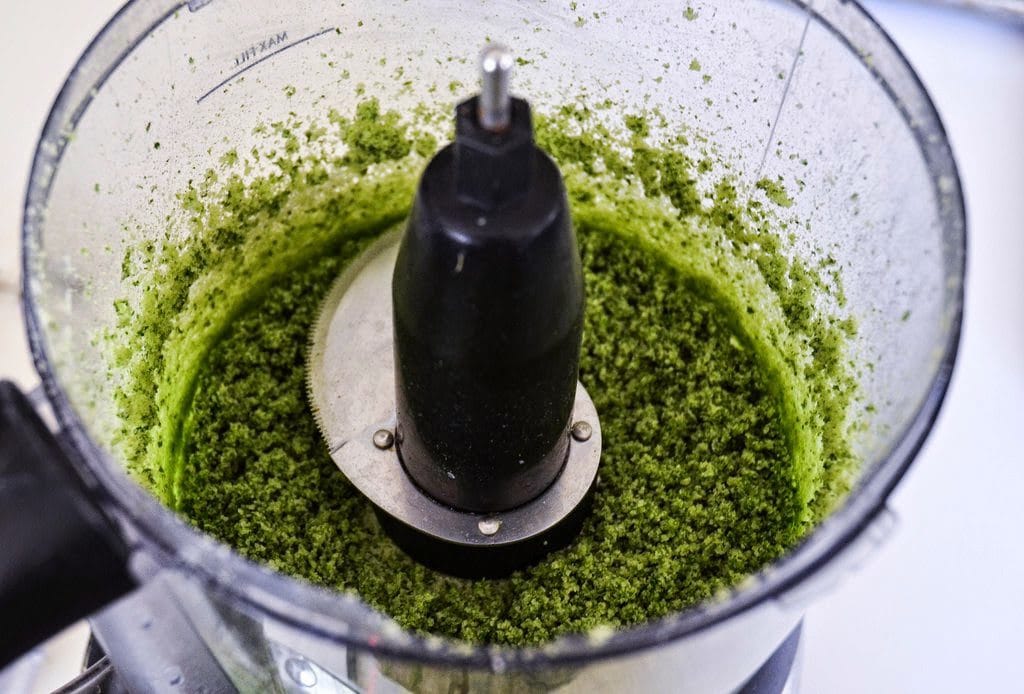
The finished mixture should look like this.
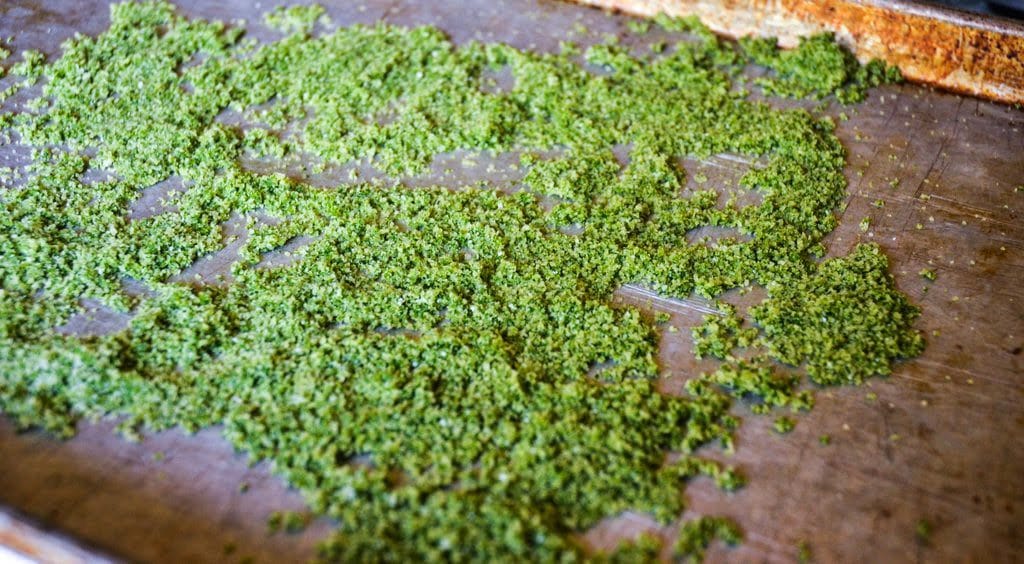
3. Pour the mixture out onto a baking sheet in a thin layer. The mixture will be somewhat moist.
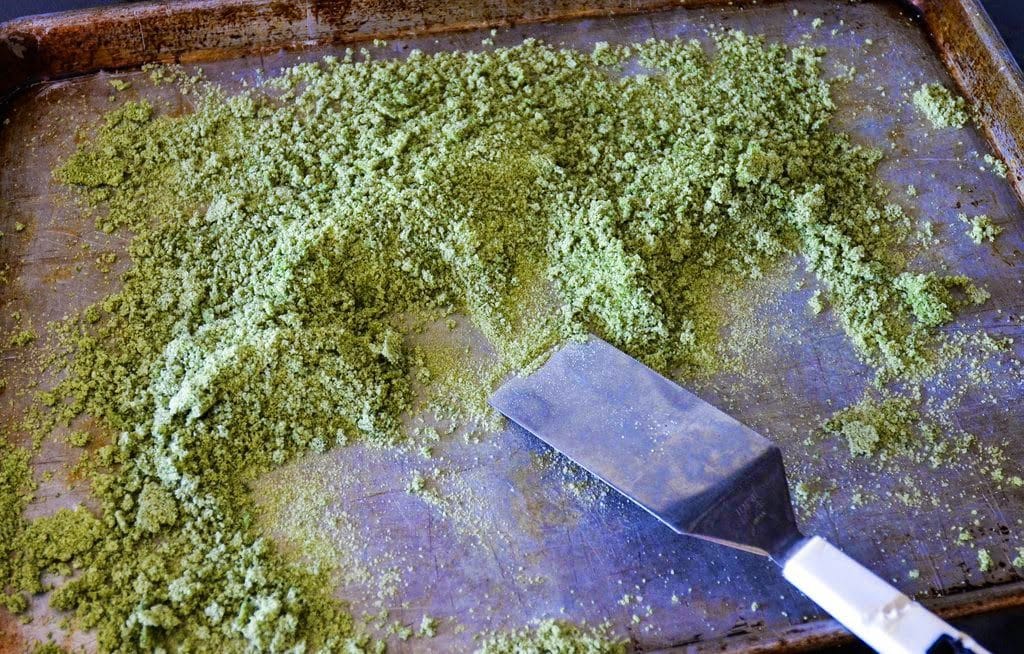
4. Bake for 20 minutes in a preheated 225-degree oven. After the first 10 minutes, lightly mix the basil salt mixture and bake for another 10 minutes – this helps it to dry out completely.
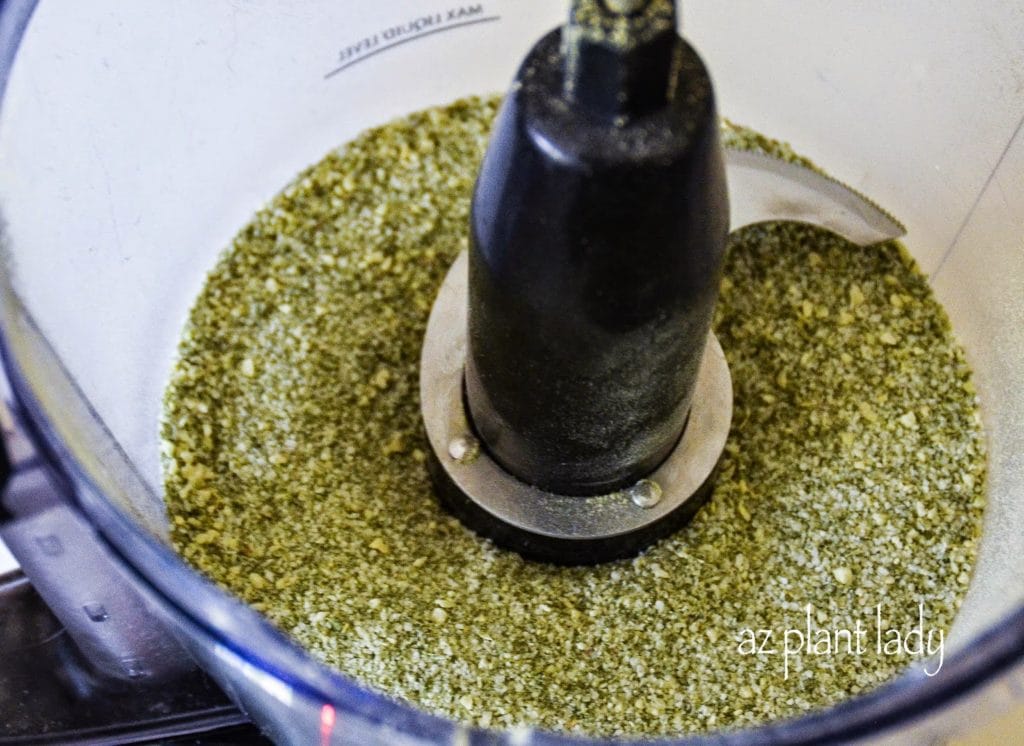
5. Put the dried basil salt mixture back into the food processor and blend to remove any remaining lumps. *Make sure that the food processor is dry beforehand.
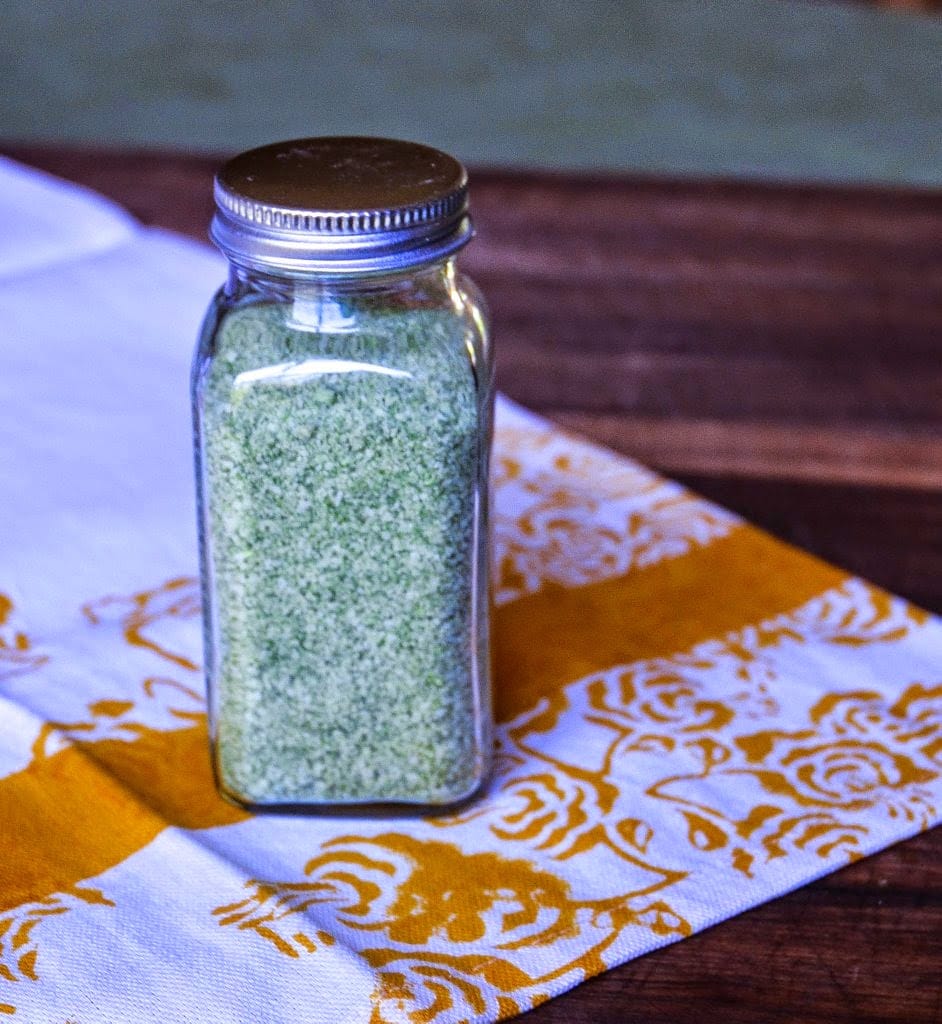
6. Put your basil salt into a glass container with a tight-fitting lid.
That’s it – you are done!
I must admit that this is a pretty easy project and the food processor does most of the work.
Keep your basil salt in a dark, cool space where you keep your other herbs/spices to help preserve its flavor. Use it within a few months for the best flavor.
*******************************
This is one of the rare times that I didn’t have to spend any extra money on a DIY project – I had the basil growing in my garden, the kosher salt was in the pantry, and I used a mason jar that I had on hand.
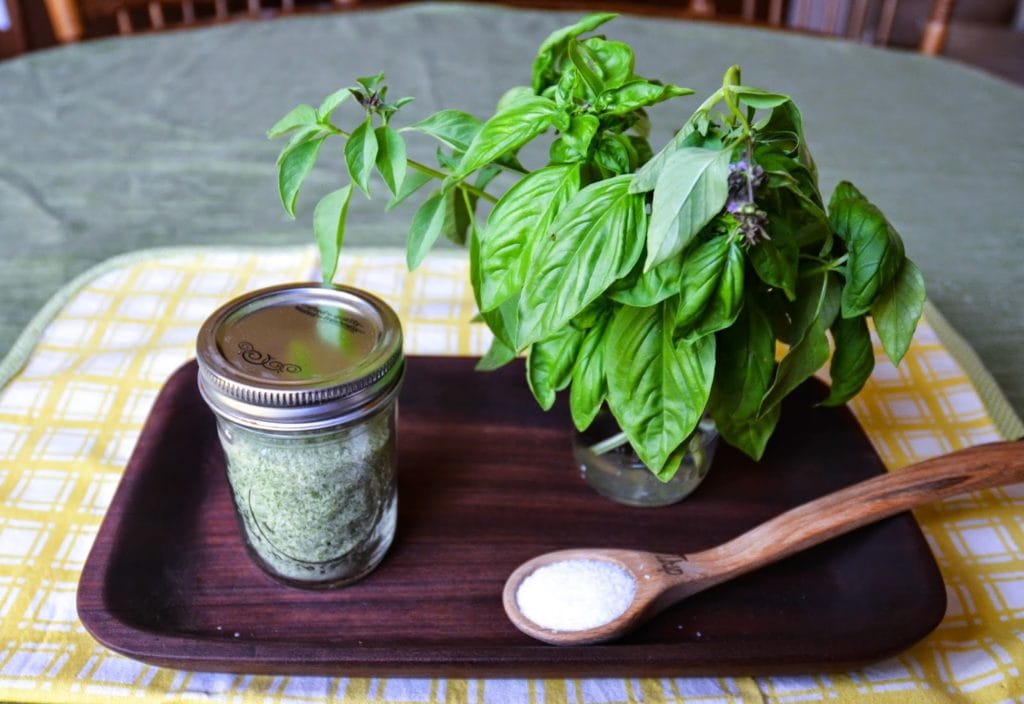
I made three batches of basil salt and will keep one for myself and start using it right away. The rest I plan on giving away as gifts.
Gifts from the garden and kitchen are personal and much appreciated by others. Last year, I gave away homemade jam from my peach tree. This year it will be basil salt.
I can’t wait for my basil plant to grow more leaves so I can make more!
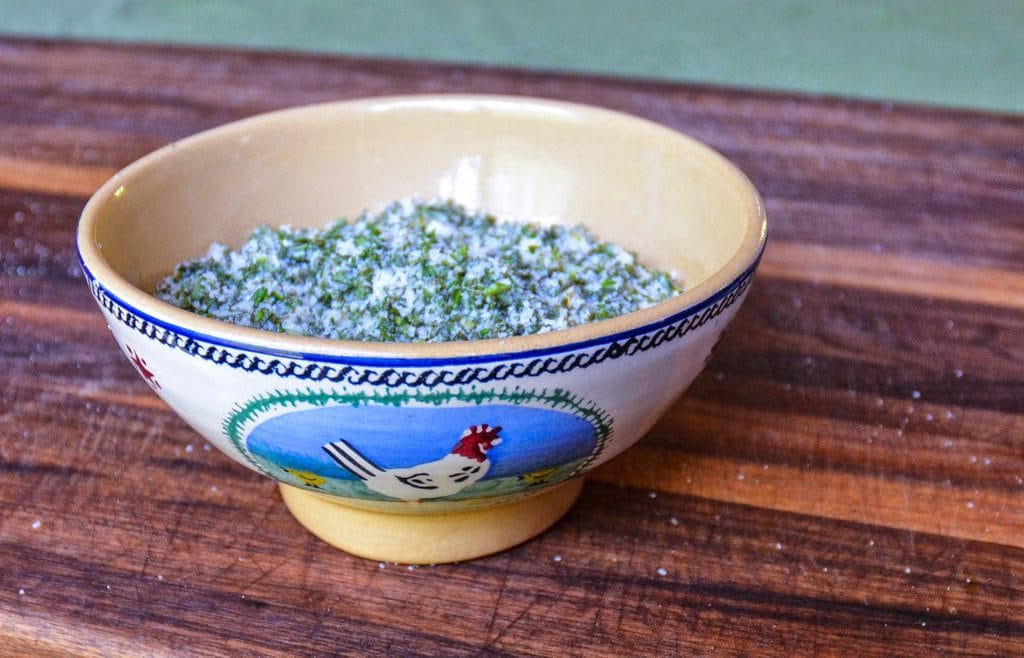
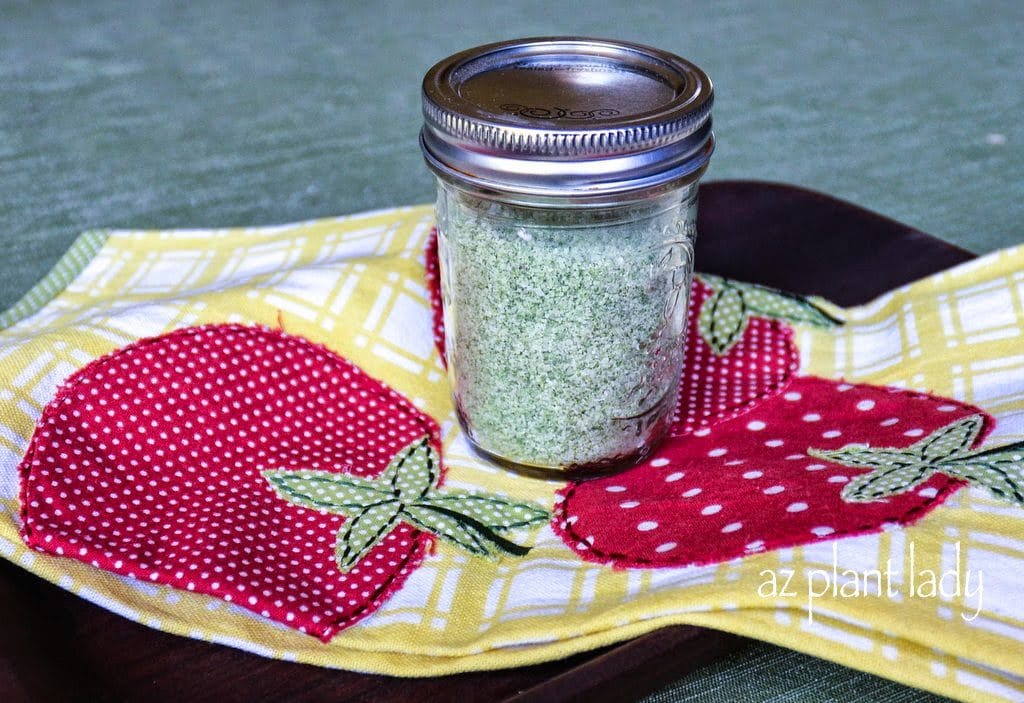
Photo: ‘Herbes de Provence’ salt
**Basil salt is just the beginning of different types of herb salts you can make. In my next post, I will show you how to make a customized herb salt blend as well as some ideas of other herb salts you can make.
What would you use basil salt to flavor?


